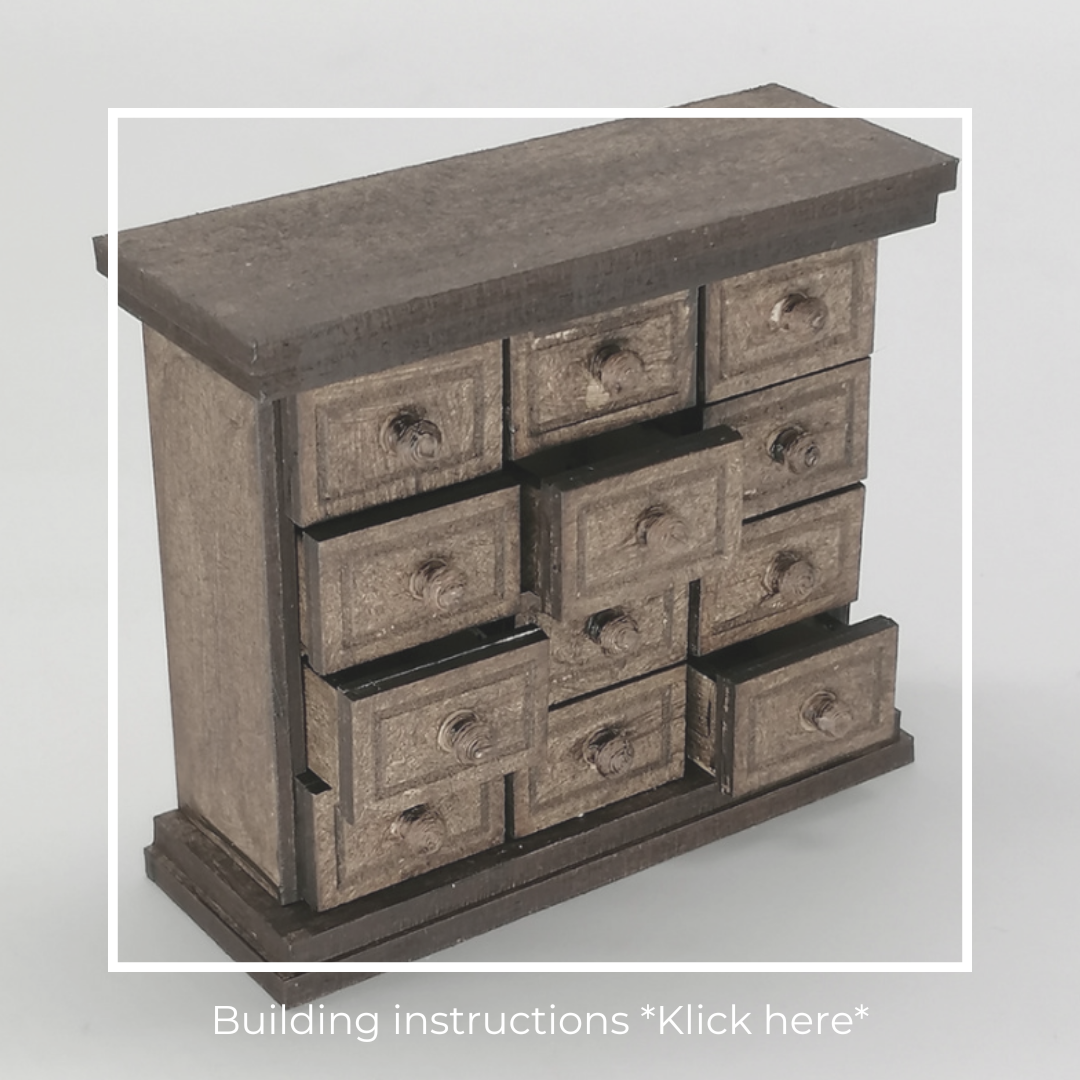
Do you have a small pharmacy cabinet in front of you and want to get to work? Then you need the following things:
- a glue stick
- Craft glue (my favorite: Ponal Express)
- some masking tape (if you don't have enough patience to hold on)
- a cloth to wipe away excess glue
And here we go:

First you glue the fronts of the drawers together with the glue stick. But don't make it too difficult for yourself and only glue the knobs to the finished drawers at the very end. Then put a drawer (like in the third picture) in front of you and glue it together. As soon as the glue is dry, you can attach the front. Make sure that the protruding side does not protrude on the ground but on the open side.


Then you glue the outer side parts together with the glue stick. Together they are as thick as the two middle parts. Put them in front of you mirrored (as in the photo). The arrows should point in the same direction and pay attention to the overhang (see photo)
Now glue the top and bottom together. The lid on the insert protrudes slightly at the front and sides. The front is where there is more distance to the insertion opening.


Take the two middle parts and glue the small bottoms in between. Now you can distribute the remaining floors on the left and right and attach the outer walls. Now you can connect the base and lid with it.


Make sure the arrows point to the bottom so the drawers will fit.

Glue the back panel on. And as soon as the glue is dry, you can plug in the drawers.


You can paint your little work of art with acrylic or other wood paints.
And don't forget to send me a photo of it, I'll be presenting the most beautiful cabinets here soon.
Have fun!


2 Comments
Sehr schönes Schränkchen! Es lässt super zusammen bauen, auch Dank der sehr guten Anleitung. Freu mich, es in meinen Magic Shop stellen zu können. <3
Liebe Katrin,
das kleine Apothekerschränken ist wirklich sehr schön und vor allem sehr einfach zusammenzusetzen. Ich musste nur kurz mal hier in deine Bauanleitung reinschauen, um die kleinen Schubläden nicht falsch zusammenzukleben.
Deine Bauanleitung ist sehr gut und genau beschrieben und auch für Wenigbastlerinnen ganz einfach nachzuvollziehen.
Ich habe zwar in umgekehrter Reihenfolge gebaut zuerst das Schränkchen, danach die Schublädchen ;-)
Aber egal wie rum, es sieht sehr entzückend aus und muss nun erstmal trocknen, damit ich es bemalen kann.
Es macht immer wieder große Freude, mit deinen Artikeln zu arbeiten – vielen Dank für deine Mühen.
Herzliche Grüße Judith