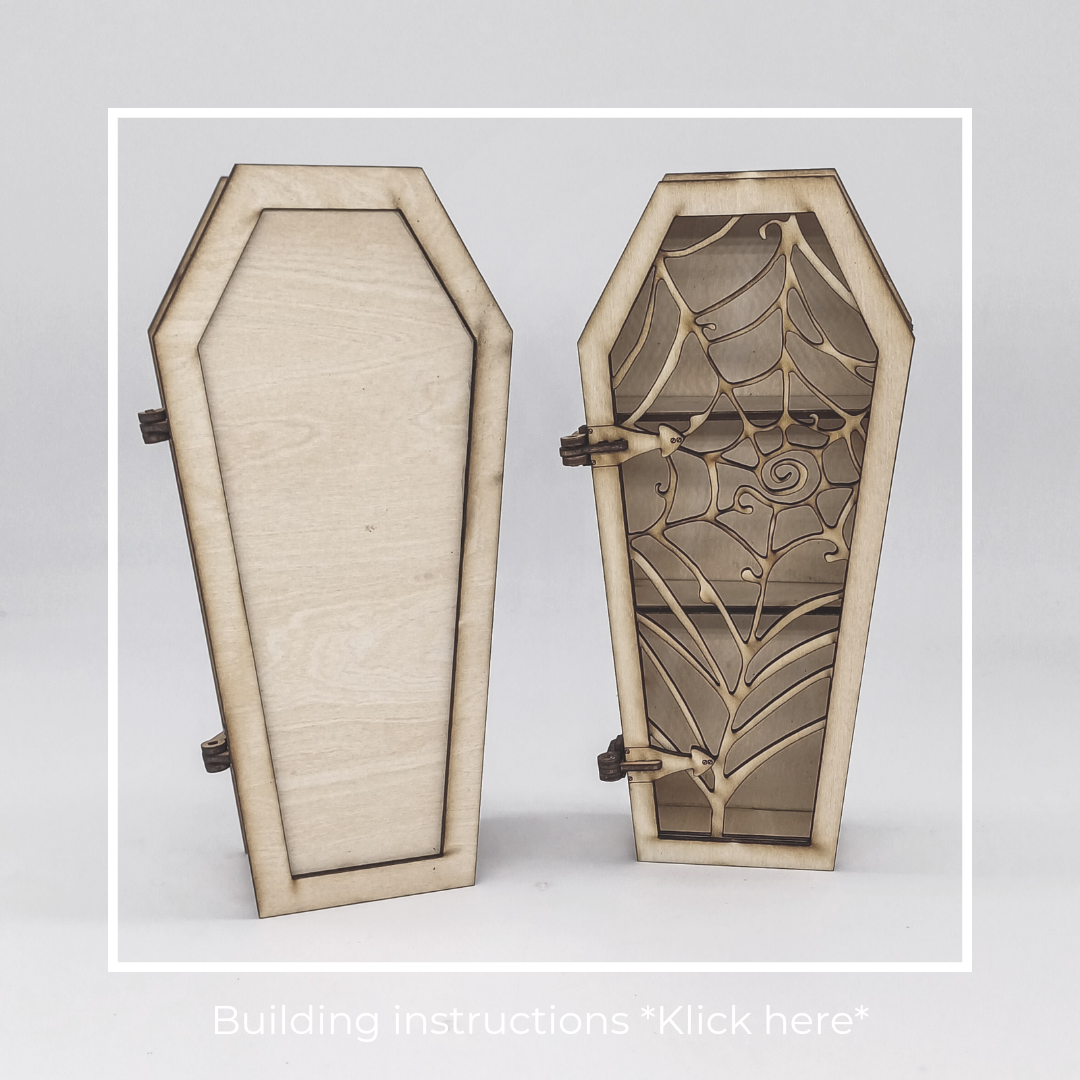
You want to make your design box? You'll need the following things to get started:
- sharp cutter knife
- Wood glue (Ponal Express I use)
- Tape (painter's crepe) to fix
- Acrylic or other wood colors and décor
And then you're ready to go:
Start with the shelf box and glue on a side panel and the shelves.

You can quickly find out the arrangement of the remaining parts, each part only fits in one place.

Fix the edges with some tape until the glue is dry.

When you make the closed coffin, repeat the first steps with the narrow side panels.

You glue the frame to the front.


The only thing missing is the hinges. Take a good look at the parts! there are two parts with square hole and one part with round. Here you should glue very carefully so that the tiny pen that holds both sides together also fits. The glue should be 100% dry before joining parts.

To connect the lid and the box, first fix both parts with some tape. Glue the hinges with a little glue, make sure that nothing overflows so that the box can still be opened after drying.

For the coffin with the spider web door, first glue on the frame with the hinges.

Again, first fix the lid and box with tape and then glue the hinge to the shelf box.

Now you can paint the box according to your taste! My spider door got a rusty metal look.
The box with the closed lid is decorated colorfully and flowerily for the monthly theme "Dia de los muertos".

As soon as they are decorated with 1:12 scale miniatures, I will show it here.
Have fun crafting! If you have any questions, write me HERE!


