


First you should think about where the switch finds its place, remember that it also has enough space inside. With the enclosed template, you can draw the opening and then expose it with a sharp cutter and put the switch in its place.
Take the two red cables from the LED's and twist the exposed (metal) spots at the end of the cable along with any cable from the switch (here green as the color varies).
Then, in the same way, connect the two black LED cables to the black cable of the battery box.
Now you only have two cables left that belong together.
Now you put a piece of shrink tube over the twisted cables because the open (metal) areas must not touch each other. Before you heat the shrink tube with a lighter (until it has adapted to the cable), you should test whether the LED lights up.
For the LED test, you first insert batteries and if the light is not lit directly, you flip the switch. If there is still no light on, take a photo of your wiring and send it to mailto for error analysis: katrin@katnook.de
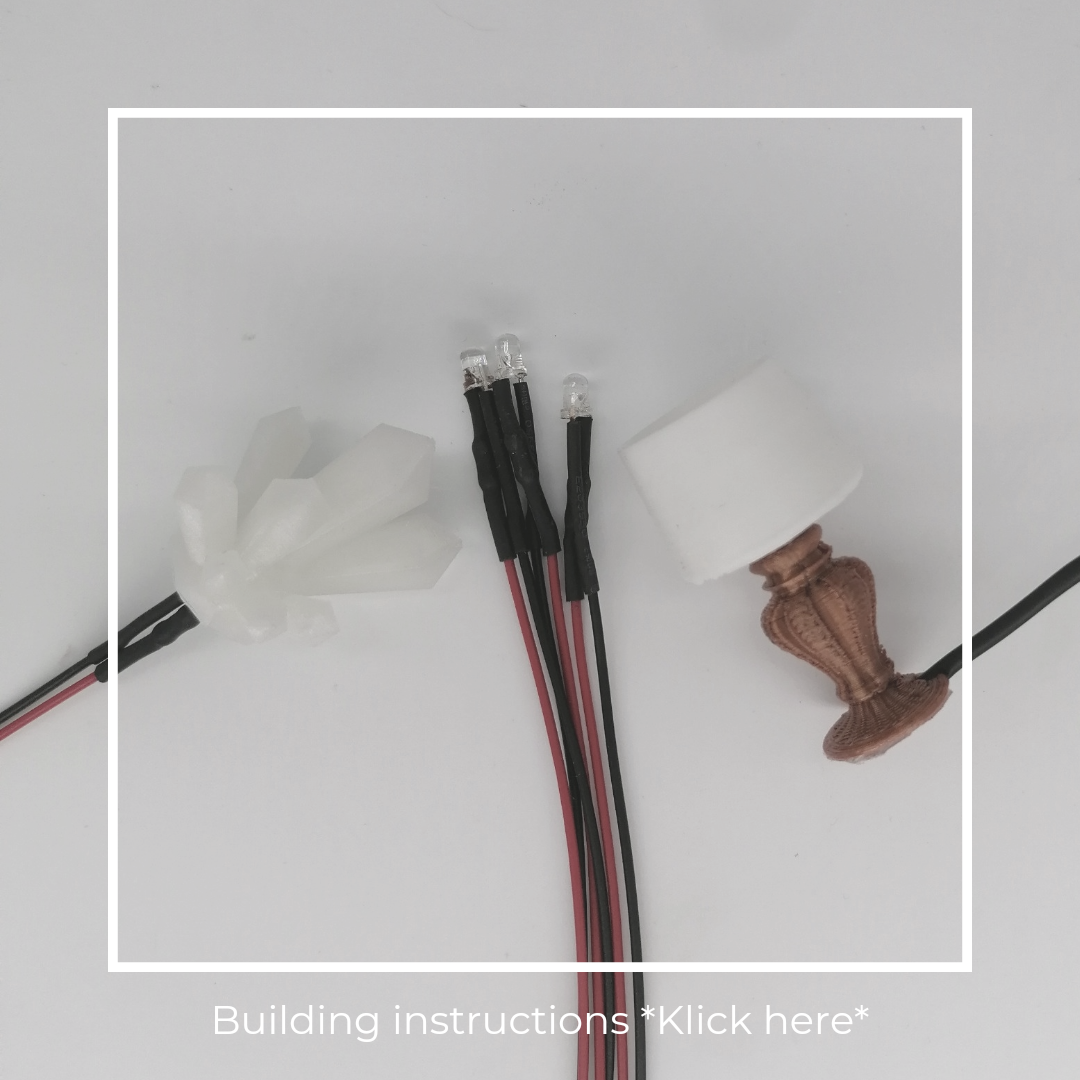
Would you like to shine a crystal or lamp?
The crystal was designed for a shelf where the cable is passed through a shelf, but you can also bend the cable and hide it on the side. Here are a few examples:


With the lamp you can just lay the cables but you are definitely wondering which of the black cable Plus and which minus is? The cable that has a spiral at the end is the plus cable + At the top of the drawing with an LED you can see how the cables belong together. Replace the red cable on the drawing with the black one with spiral.
