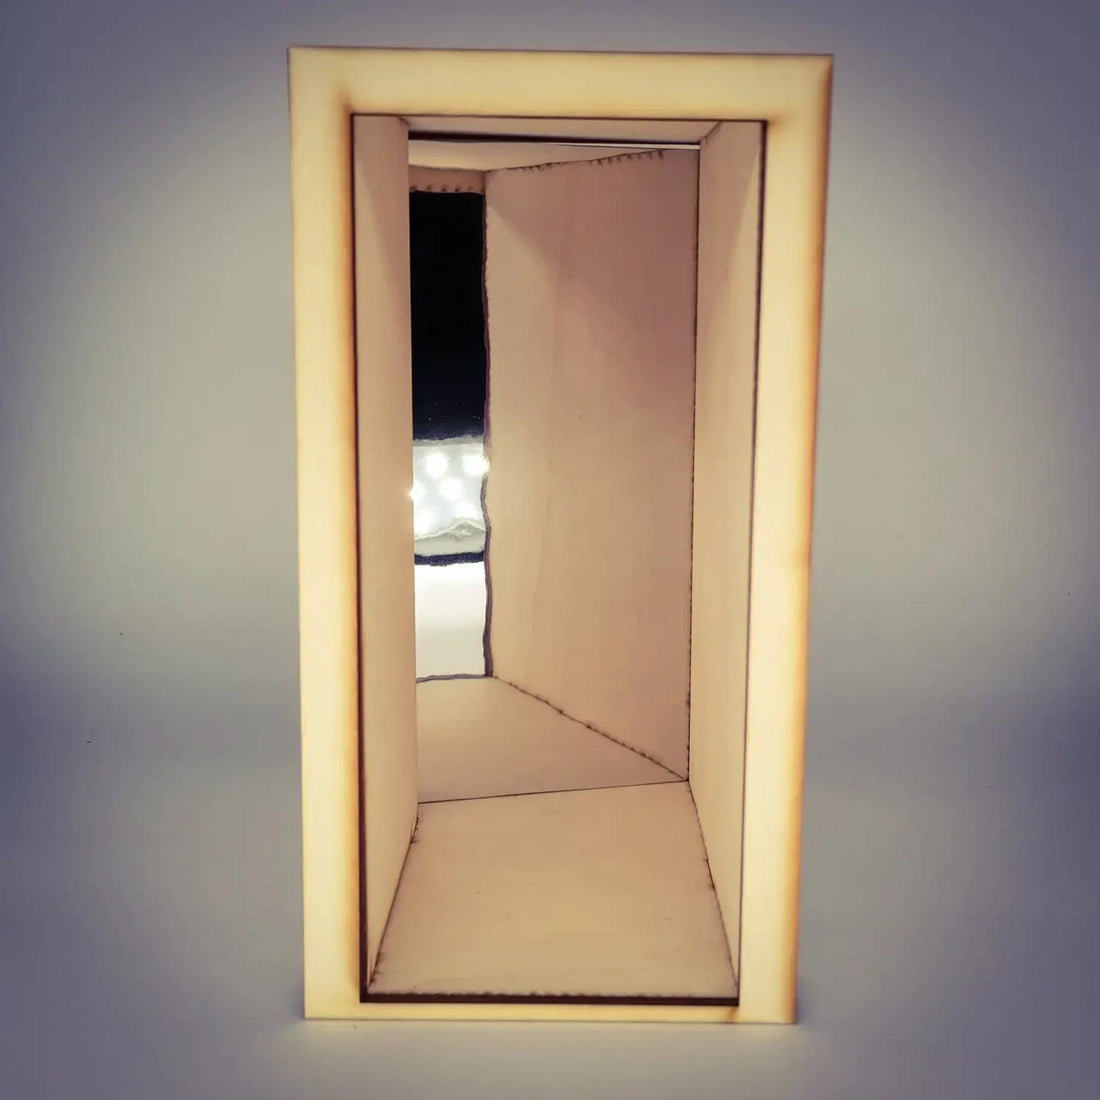
You only need wood glue (I use Ponal Express - for everything - because it is transparent when dried)After you have considered a topic for your Book Nook, you first design the inner side walls, floor and ceiling. Danger! Do not swap: The floor has the round hole by flap at the back leftFor example, cut a window into a wall, with a sharp cutter and a little patience you can cut all the openings into the wood.If you want to attach lighting behind the wall, you should also attach it beforehand. (here with hot glue and tape because double holds better)Now you can start assembling and spread the two inner walls and the back wall - flap with a little glue (of course on the nuppsis that are inserted into each other).Brush the nuppsies again with glue and put on the lid. Yes I know this is tricky but also the only requirement for assembly.For the mirror back wall, place the piece of wood on the back of the mirror film and draw the size. Now cut it out and stick them onto the wooden part. If something is overcome, you can pull it off with a cutter. Now only pull the blue protective film off the mirror. The remnants of the film do not throw away, it is well suited to distribute LED light behind a window, evenly
.
If you stick the mirror to the back of the box, you should be careful that no glue gets to the visible surface of the mirror (unfortunately happens to me again and again and does not look nice)Now only the frame to the front of the front and your Book Nook can be further decorated.
Do you have any questions or comments? Write me on WhatsApp or by mail. Or just here in the comments ...