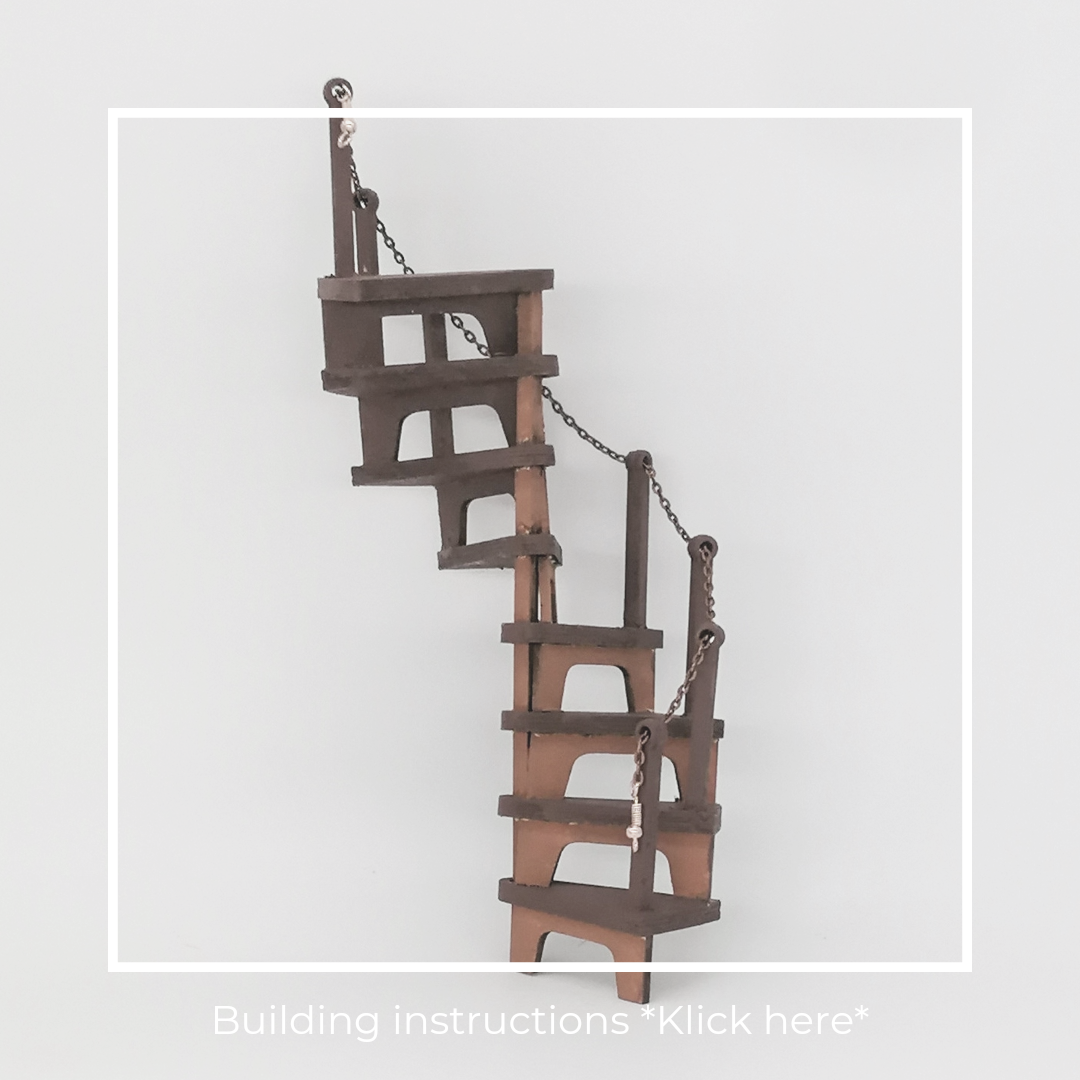
You have a kit for a spiral staircase in front of you and you want to finally get started?
First you need to know how high the room is in which the stairs are. Should it protrude from the room or end on the ceiling?
Only then do you cut the two long rods to the desired length, depending on how high your Book Nook or Roombox is. Then you glue the two pieces together to form a rod.

Then you glue the steps together with a glue stick.

Look here exactly how the step parts belong together:


When the glue has dried, you can stick the step parts on


If the two lower holes are at the front and the step part is at the back, you 've done everything right.

The bottom step needs a heel, which is why you cut off your feet for a step part before you stick it to a step:

You are now treading this first step with the pole.

And then the stacking can begin, of course, with a few drops of glue.

While the stairs are drying, you can now glue the railing posts together.

And glue into the intended holes in the steps.
When the stairs end up on the ceiling, you need two less and have to adjust the top two in height.

You can paint the spiral staircase with acrylics and then thread the chain through the railing posts and shorten it to the correct length. At the open end you only attach the security.

Have fun doing handicrafts! If you have any questions, write to me and I'll try to help.


