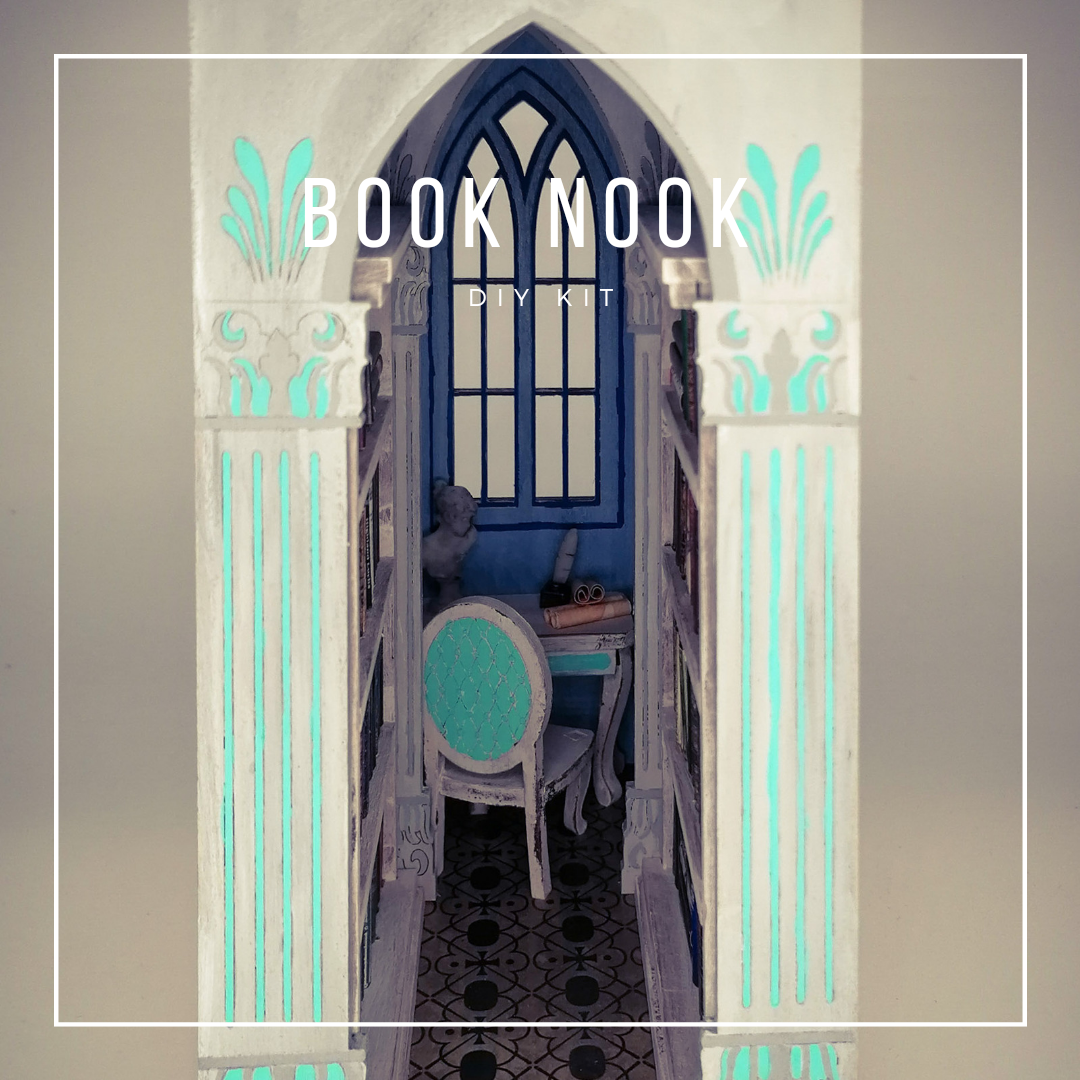
The ancient office does not necessarily have to be antique, you can make it freely. Therefore, this guide is only a building instructions not a creative inspiration.
You start with the books that take the longest. here you will find separate instructions for this.
Then you build the shelves.


First you stick the two cover parts together, then insert the shelf boards and finally the lids open.


You stick the shelves directly on the side parts.


At the small table you first stick the table tops together, as to see in the picture. As soon as the glue is dry, you can stick table legs and front.


Place the bottom and lid so that the hole is on the back left. (The floor has two slots in the middle and the lid one in the middle) then put the flap as well as the fully painted windows and column parts between the floor and cover section. Then you can already stick a page with a shelf. You should decorate the shelves beforehand with the books and stick the books on the shelf. The table and chair can now be decorated. And if you need even more light in the Book Nook, the cables and LEDs also lay. If you glue the backlight film with the moon behind the window, you should not integrate too much light inside, otherwise the moon will no longer come into its own when it is illuminated from behind.

Finally, only stick the second wall and the front.
Do you need visual help? An advanced video can still be found on YouTube.


