

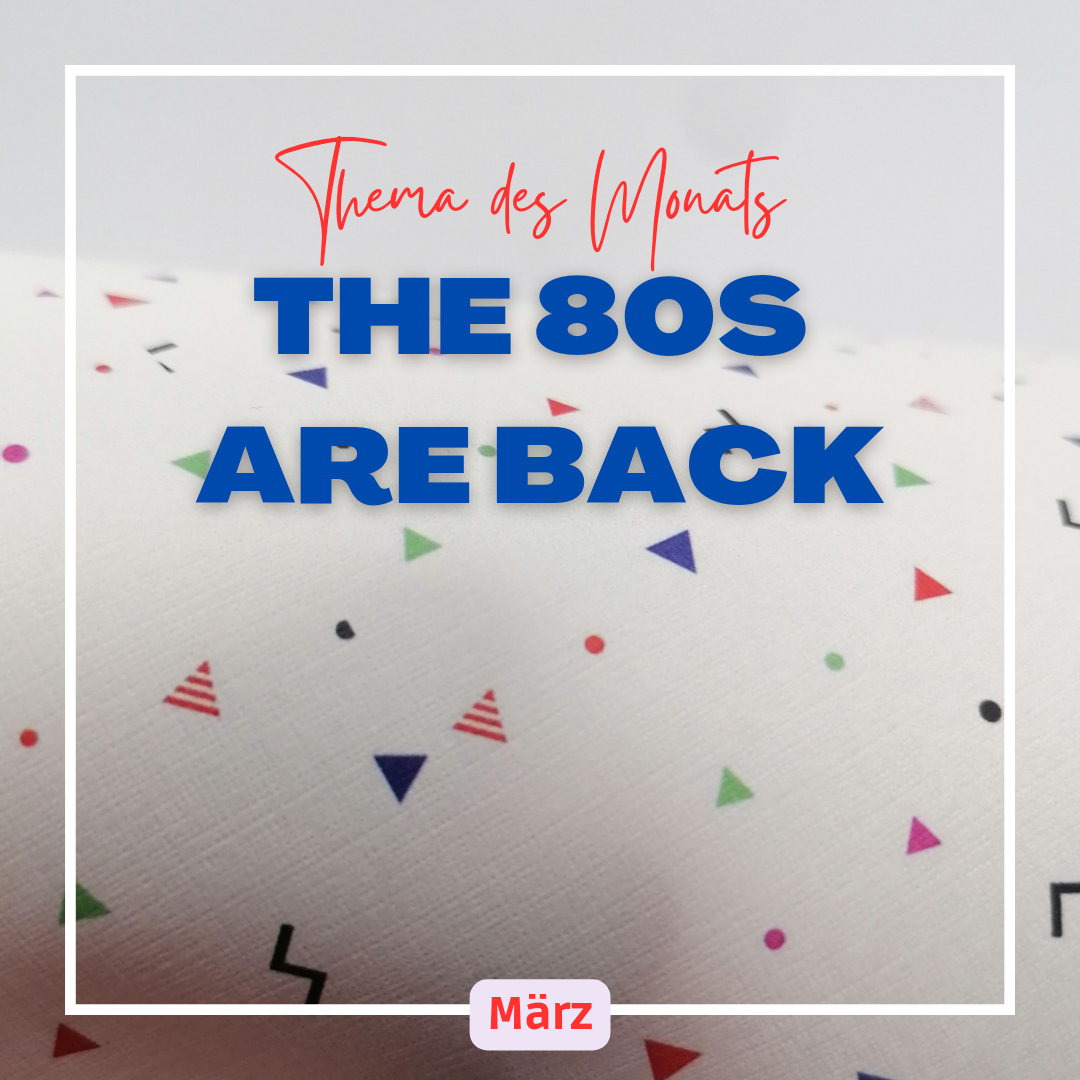
In March it's "The 80s are Back", which means you'll gradually find more and more miniatures on this topic in the shop. Here you can see how my diorama is created...........
First day:

Cut floorboards from wooden spatulas and glue them on with glue (Ponal Express).
Second day:

I painted the wooden floor and the beams with brown washing acrylic paint and wallpapered the walls. I designed the small cabinet and the table last week and today I cut (with laser) and assembled the sample pieces. Tomorrow at the latest you will find the parts (HERE) In the shop.
The attic box hasn't been glued together yet because I'm not sure if the shack needs a window. Where would you put a window? Write it to me here in the comments!
Third day:

Yesterday was 3D printing day. The chair took a few tries before it was the size I like. Now I'm still trying to figure out what color he'll get. How about a royal blue? Or is that too extreme?
It makes me particularly proud TV With his interchangeable image. What was on your TV in the 80s?

It's finally getting colourful. For this I use paints from Vallejo. But what you see here is not everything, but I can only show it when the delivery comes from the printers.

Telephone...telephone says my second favorite alien from the 80s and here it is. I wrapped the cable around a thin wire and after I drilled holes in the handset and phone with a hot needle, I was able to plug in the cable and glue it. . .. To the article HERE
And because I like the little creature that always wants to phone home...

here with a test image. The print has been ordered and will be printed on backlight film so that the moon can really shine later. I will offer the window individually in the shop as soon as the prints are there.

I was finally able to glue the booth together. The window film is now there and also in > Shop < Available. So I could install the window and glue the three walls together. I cut skirting boards out of cardboard and painted them in the same color as the floor. The first flowers are already on the windowsill....it's getting so slow.
For tomorrow I have already built a laser file for a desk. That might be a bit cramped, but the planned old computer still has to be somewhere. And for the many details that are still in the works...I'll probably have to add one.

With this desk I would have actually had to add on. It's a bit big and I don't like the fact that it sticks out so far from the wall due to the skirting board.
So back to the computer and then off to the workshop.

Painted with acrylic paints to match, I like it better. Now I'm looking forward to decorating here.

A retro game console is now also on the table and also * HERE * In the shop.

Detailed work takes a lot of time, so today I just hung a few posters on the wall.
Since my thumb is not yet completely functional, I am now closing this topic early. Here you can see the result:


This is my first blog and also the first monthly topic and therefore still a bit unstructured. But I was able to learn a lot this month. If you have any questions or suggestions, write me right here in the comments. And if you are interested in the next topic look right away HERE!
The miniatures on this topic can be found in the shop while stocks last. HERE!
6 Comments
Liebe Miniturist:innen und Miniaturenfreund:innen. Welch herrliches Projekt Kartin von KatNook da mit ihrem ersten Monatsthema “The 80’s are back” gestartet hat. Auch ich verfolge ganz gespannt, was sie fast täglich Neues produziert, erarbeitet + blogt. Ich glaube, gerade Einsteiger:innen im Miniaturenbau können so ganz einfach mit dem Thema starten.
Der Bau eines Dielenfußbodens ist dafür ein guter Beginn. Holzspatel gibt es sehr preiswert und diese in Stücke zu schneiden (ich verwende dazu eine Gehrungszange, mit der sich sowohl im Miniaturen- als auch Krippenbau sowohl Sperrholz, Finnpappe und auch Holzleisten gut und schnell schneiden lassen – zwar ist die Zange nicht ganz billig, aber ihren Preis allemal wert!) und dann zusammenzuleimen (arbeite auch mit Ponal Holzleim) ist wirklich easy. Etwas leichter tut man sich, wenn man vorab ein festes Blatt Papier oder ein Stück sehr dünnen Karton genau in der Größe der Fußbodenfläche zuschneidet und die Miniaturdielen darauf aufklebt. Soll der Boden alt aussehen und Abnutzungsspuren haben, von den Dielen vor dem Verleimen an den Kanten mit einem Cutter feine Späne unregelmäßig abtragen. Nach dem Verleimen kann man noch die gesamte Fläche mit einem Lavastein/Stein/Metallteil/Drahtbürste/Nagel/Bierkap-seln/o.ä. mit etwas Druck bearbeiten. Ebenso kann ein gewisser Alterungseffekt entstehen, wenn man nach dem Bemalen/Beizen und Trocknen des Fußbodens etwas weiße Farbe sehr trocken auf einem starren Borstenpinsel aufgebracht an den Kanten der Dielen abstreift bzw. auf der Oberfläche die Erhebungen im Holz damit strukturiert (auf Wunsch auch kleine Farbsprenkel in Moosgrün – Gelb bzw. Rotbraun einarbeiten).
Zum Tapezieren der Wände in Miniaturen verwende ich auch sehr gerne Origamipapier; kleinmustriges Geschenkspapier; aber auch Elefantenhaut, Vintagepapier in Grau, Beige oder Brauntönen – aber natürlich auch Katrins Tapeten bzw. deren selbstklebende Bodenbeläge!
Und nachdem es nun bei KatNook schon wunderbare 80’s Einrichtungsgegenstände gibt, lautet mein Tipp dazu: einfach mal einkaufen und die Teile bei Katrin erwerben. Sowohl der Couchtisch als auch die Kommode mit den zu öffnenden Türen und den herausziehbaren Schubladen; das brandneue Retro-Fernsehgerät (siehe Katalog) und der schwarz-weiße Teppich sehen einfach herrlich aus!
Ich wünsche euch allen viel Spaß beim Mitbauen/Mitfiebern und Minaturenbau und melde mich wieder! PS.: Habe in all meinen Arbeiten und Miniaturen, die ich bisher gebaut habe, immer Teile aus Katrins wunderbarer Produktion verwendet. Seht mal bei Pinterest nach unter @Gertrude2470 bei den selbst gebauten Miniaturen und auch im Krippenbau hab ich schon Produkte von KatNook eingesetzt! Also – ran an die Miniaturen und den Dachboden!
Und für dich, liebe Katrin, bleibt nur zu sagen/schreiben: mir persönlich würde ein Fenster in der linken niedrigen Wand (vom Betrachter aus gesehen) gut gefallen. Weiters freu ich mich schon heute unbändig, wenn’s nächste Woche weitergeht mit deinem wieder so tollen Projekt “The 80’s are back” und sage einstweilen einfach nur danke für den tollen Blog und deine unglaubliche Kreativität!