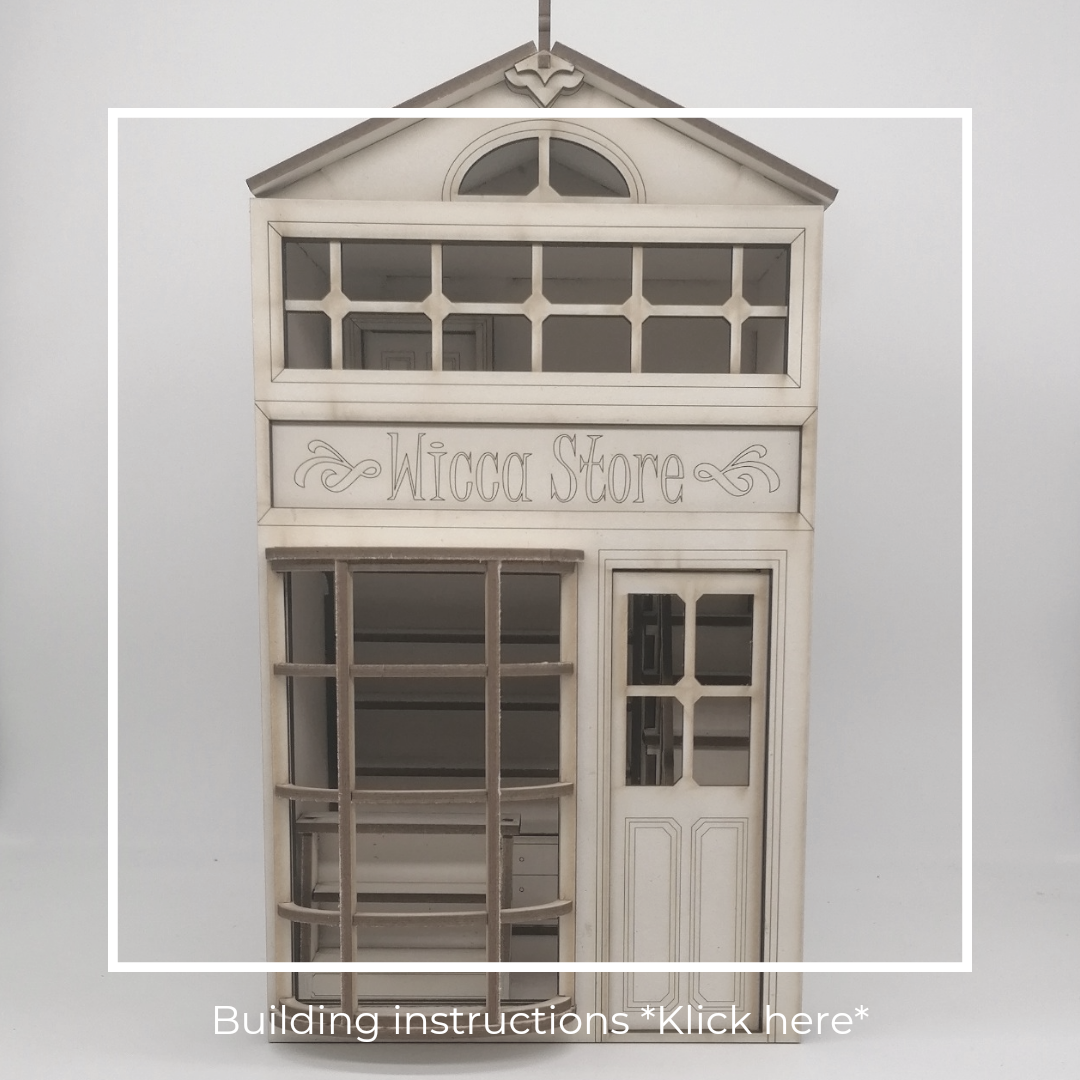
Have you unpacked your package and are inspired and full of energy? Do you already have a vision in your head of how your Wicca Store could look like or do you start decorating and see where it takes you?
Before you start you need:
- Holzleim
- glue stick
- fixing tape
- Acrylics
- scissors
- paint brush
- Cuttermesser
So that you also have miniature decorations to choose from, you first start crafting and painting them. I always start with the books, they take up the most time. You can see exactly how you do this here. Next you paint the miniatures. This works best with acrylic paints and a fine brush. Let your imagination run wild here, combine the individual parts and let them come to life.
Lay the bottom of the box on the table and the side parts and the back part next to it, just as they will later belong together. Now you can evenly coat the parts with a glue stick and stick the wallpaper over them. The bottom is self-adhesive, you can simply peel off the paper on the back.
In the ceiling you first thread the light chain through the middle hole and then through a small one on the edge, then through the next edge and again through the middle so that a spider's web is created. Don't make the same mistake I did and paint the ceiling before you thread the LED. Afterwards is simply unnecessarily complicated as I have found.
For my version, I put a spider in the center hole and decorated it with glitter confetti paint.


Put the finished pieces aside and assemble the interior next.

Start with the railing, also the one on the steps! A railing part has a flat side, which should be on the left side, as shown in the picture, so that the upper step fits.


If you don't want to paint the side of the stairs, draw the side part on the wallpaper. Then you first glue both sides of the stairs together with the intermediate pieces.


You can then glue the steps on. (Don't forget: the step with the flat side of the railing on the top step) Finally, you wallpaper the side of the stairs (with glue stick) and put the gallery on top.


The stairs are ready or do you still have to paint the steps and railings?
Next, pin and glue the shelf together. When inserting, make sure the holes in the back wall are under the holes in the shelves.


LEDs are inserted into the holes in the shelf from below.

Next you glue the side walls and the floor. When everything is dry you can prepare the Roombox for decoration by gluing the floor to the right side wall and the back wall. Don't forget to leave the holes in the back panel free for the cables.
Now quickly assemble the counter and paint it when the glue has dried.


Now you can put the interior in its place.
First you put the cables through the holes in the back wall and glue the shelf to the floor.


Then glue the stairs in place and the second floor on top.


Now all you have to do is glue on the railing and the left side wall before you start decorating.
You can glue the door and a shelf to the upper floor. You either tape the door shut or in such a way that it can be opened or is ajar.

You certainly don't need any help for the front. You can find the instructions for the window HERE.
And the instructions for the roof are HERE online.


