

You unpacked your package and are you inspired and full of zest for action? Do you already have a vision in your head what your witch library could look like or do you decorate it and look where it leads you? So that you also have miniature decoration to choose from, you first start tinkering and painting them. I always start with the books, they take up most of the time. You can see exactly how you are doing here.
Next you paint the miniatures. This is best done with acrylic paints and a fine brush. Let your imagination run free, combine the individual parts and let them come alive.

Now the fun really starts .... cover the inner walls with the wallpaper and cut off the protruding wallpaper with a sharp cutter and the holes free.


Then you build the shelf together.


The shelf parts are labeled with letters and can be easily put together. With a few drop glue, the shelf is also stable enough for all the "heavy" witch things.


After painting the shelf in your desired color, you stick it on the wallpaper. Better check twice whether it is really around. At the back (mirror side) the shelf ends with the wall and the holes of the shelf and wall should lie on top of each other. Then think about where you want to place light. You can either put the LED directly through the wall or you put it on the shelf and let the cable disappear through the wall.


The fortune telling ball is just an example of lighting, get inspired here or send me a photo of your finished miniatures to mailto: katrin@katnook.de I will help you to find the right lighting.


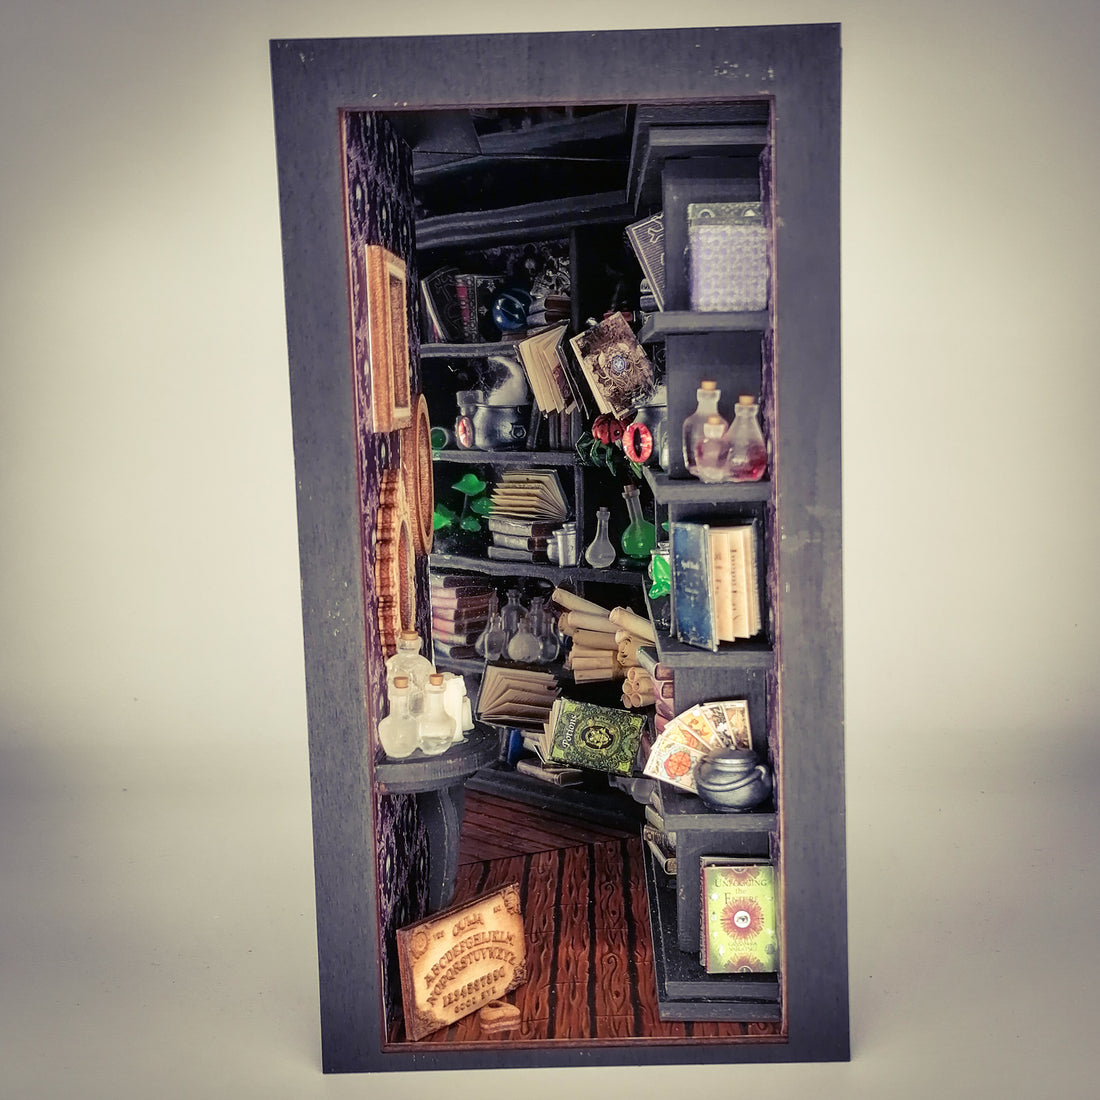
And now we plunge to the next and best part. The decoration of the witch shelf.


Before you insert the pages, you stick the mirror. You can stick the remains of the mirror film for decoration or on the ceiling as a light amplifier.

Before you stick the outer side parts, you should twist the LED according to instructions. You can find the instructions here. If you have tinkered all four LEDs, simply doubles the number of LED cables, only two are on the drawing. You should also check the cabling before you collect the box together. Should the light not work ... you know how to do it! Text me!!!

Finally, stick the front on the Book Nook from the outside and decorate the table as desired.
The Book Nook is now finished. You have certainly spent a few and hopefully nice hours with handicrafts, now turn on the light and enjoy your work. And then share your joy with me and send me a photos of your work of art. Thanks!
If you need visual help, you can also watch YouTube videos on my channel for this guide. Click here